We've been working in the Digital Book with our three worksheets. Hopefully you're beginning to understand all about how digital photography works. In the meantime, I want you to continue to practice in PhotoShop. The morre time you spend in PhotoShop, the better you'll get. There will ALWAYS be something new to learn and master with this program! As you finish the reading (pp. 10-35) and the worksheets, please see me to get the PhotoShop Exercise ("Paint" Project). This project will help you explore some of the features of PhotoShop, and learn where to find them!
>>>PhotoShop Exercise
Experiment with Toolbox/Options
Make a painting using each of the following techniques. Start with a blank page (no photograph). You may want to consult your handout of the Toolbox map (Toolbox is on the left of your screen; Options windows on the right; Menu bar at top). Briefly describe what you did for each step on the back of this page or on notebook paper.
*Open Adobe PhotoShop from ‘Programs’ or icon on desktop
*From Menu Bar--- File>new--- Create a blank page, 8"x10" RGB, 200 ppi, 16 bit
*From Menu Bar---Window>brushes, history, layers, color, swatches, tools, options (make sure these items are checked/window appears on the left of your screen for each)
*Select each of the following from the Toolbox and create a “painting”:
pencil (use several sizes)
paint brush (use custom brushes--select load brushes from Brush Palette menu; use texture brushes; pick several different sizes and shapes of brushes; experiment with options in Menu Bar---diameter, softness, mode, opacity, flow; click on all arrows to get other options; use airbrush-- experiment with adjusting pressure)
paint bucket (to fill in large areas)
*Select colors from Color Palette window—experiment with tabs (color, swatches, styles) *Experiment with color selection options in Toolbox (the two blocks of color, black, white, or whatever color you chose last)--background, foreground, switch colors using arrows
*Use Adobe color picker (click arrow in Color Palette window)
*Create several new layers (Layer>new); Copy something from background and paste to another layer-- Rename to indicate what’s there by double clicking on layer (the layer will be blue to indicate which one you’re accessing) Put something on each layer
*Use the eye dropper from the Toolbox to select a color from within the picture and repeat somewhere else
*Experiment with opacity (in Layer window) and other options (click arrow)
*Select an area with magic wand from Toolbox; Extend selection with wand by shift/click
*Experiment with layer styles (the cursive ‘f’ icon at the bottom of the Layer window)
*Soften an item on a layer by using filter>blur>Gaussian Blur
*Change the order of layers by dragging one to the bottom in the Layer window
*Experiment with show/hide buttons in layers (the 'eye' icon)
*Paint using the Wet Edges option in Brush window
*Use gradient (Toolbox); Experiment with all options
*Paint straight lines with shift/click
*Try the special effects brushes from the Menu Bar (click arrow)
*Experiment with feathering edges by using anti-alias (Menu Bar) before selecting an item with lasso: Feather edges on existing selections with Select>feather, an amount>ok
*Use the various eraser tools in Toolbox
*Use the zoom tool to work in small areas (Toolbox)
*Experiment with Edit>Transform>(All options---from Menu Bar)
*Add text/Enhance text with a special effect---‘T’ from Toolbox, then Layer>Layer Style>(experiment with your choice of special effects) from Menu Bar
*When painting is complete, experiment with various filters, particularly Artistic options and Sketch options
*Save in 'Completed Assignments' folder using your id#, then 'Paint Activity'
*Turn in your sheet with a brief description of what you did during this exercise
*This will be graded as a Project—DO A GOOD JOB!
Art Show Winner!!
by Barry Lawler
sample "Liquified Face"
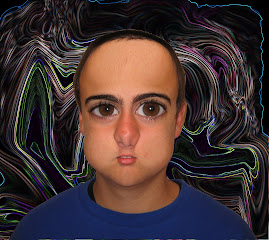
by anonymous 2008 student
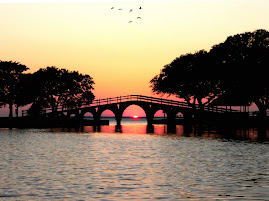
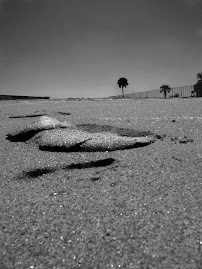
Beach Duotone

Student work 2006-07
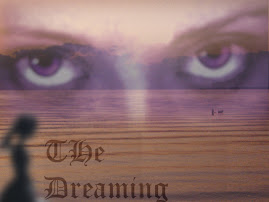
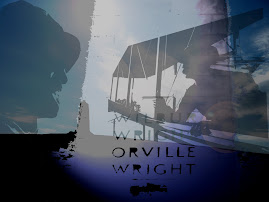
sample 'Song Lyrics Project'
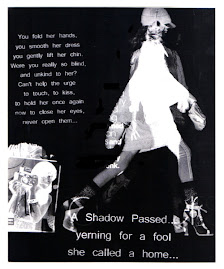
from DeviantArt
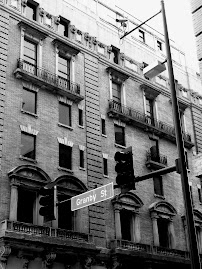
sample of 'locational' picture

student work
Sample Line Art

by Melissa McDonald
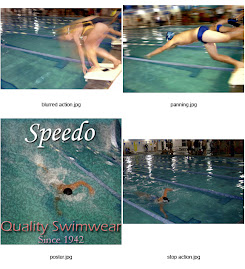
FREESTYLE!
by Alyssa Gill
FREESTYLE!
by Adam Preiser
FREESTYLE!

by Cody Stone
FREESTYLE!

by Zac Coyle
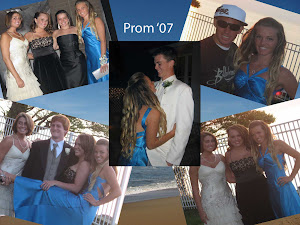
Sample Final Project (4 images)
by Melanie Broadhurst
Action Photo with Text (Poster)
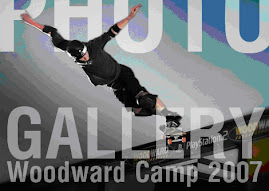
from the Internet
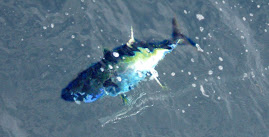
Sample Animal Photos:
By Elke Talbot
.jpg)
By Eric Crostic
Sample Montage

By Caroline Zarate
sample Metaphor Self-Portrait
Student Work 06-07
Sample Still Life
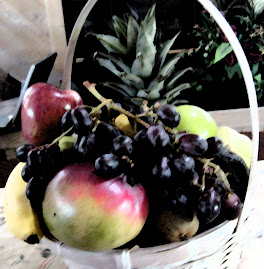
Student Work 2006-07
A Winner from Last Year's Art Show:

by Zac Coyle

"We've been Hockneyized!!"
Sample Catalog Page
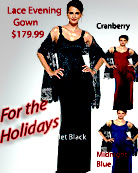
Created by Ms. Finch
Sample Backlit with and w/o flash

student work-- 2nd period 2007
Portrait Collage
Student Work 2006-07
Sample Before and After
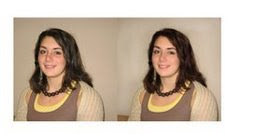
Student Work 2006-7
Sample Collage
created by Ms.Finch in class
Sample Collage

created by Ms. Finch in class
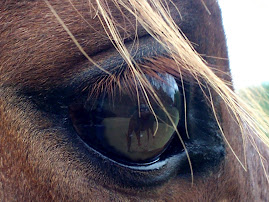
Interesting Macro Sample

Student work 06-07
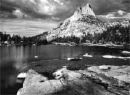
landscape photography (student work)

Macro Photography

ANSEL ADAMS
Black and White Student Choice

06-07 Student Work
B&W Examples
Examples of Nature Shots
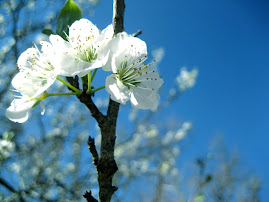
Selective Focus
Examples of Nature Shots

full focus
"Rock Star Day"

Examples of "BOLD, COLORFUL"

(student work)
About Me
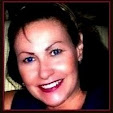
- LISA JOHNSON FINCH
- I am an artist living on the NC Outer Banks(OBX). I hold degrees in both Commercial Art and Fine Arts. I am a painter, photographer, and graphic designer. I am inspired by the natural beauty I see on these barrier islands every day, and try to capture that feeling of tranquility on canvas. As much as I appreciate OBX scenery, my favorite subject matter is portraiture--- particularly babies and children. I enjoy depicting pregnancy and breastfeeding. I love capturing that unique mother/child bond. I have a few pieces displayed in local businesses and galleries. However, I can offer a substantial savings when I am able to cut out the middleman, so to speak, by selling and shipping directly. I also accept work by commission. Send me photos of your kids, pets, or house, and I can create a personal painting just for you or a loved one! How about a fantasy piece? Turn the little girl in your life into a mermaid; your young man into a little surfer dude! Samples of my work are online and you may contact me through Facebook or my email address with any questions. obxlisafinch@embarqmail.com
