You will have a photo montage due this Friday, Feb. 1st. Please get a printed direction sheet from me. Your montage is different from a collage!
Instructions:
Start a new background 8 inches by 10 inches at 300 PPI. It can be horizontal or vertical. You can use a photo, a pattern, or a color as your background.
Add other pictures as layers. Don’t forget to adjust levels and brightness and contrast on each individual photo. You should follow a theme or have one central idea that connects the photos. The photos do not have to be rectangular. They can be cut-outs, circles, or irregular in shape. However, do not cut objects out of the pictures. A montage differs from a collage in that you are using whole photos, not specific elements from your pictures.
Experiment with the lay-out. You may want some images to overlap each other, and some images to have less than 100% opacity. Experiment with different layer styles (Layer>>Layer Styles) or click on the little cursive 'f' icon in the layers box. You should use a similar treatment with each photo to give the piece unity.
Add text and experiment with both style and fonts. You should also incorporate your name into the piece. Points will be taken off if your name is added later.
When you are satisfied with your project, flatten the image and print it. You should also leave it electronically in the completed assignments folder, using your class identification number.
Art Show Winner!!
by Barry Lawler
sample "Liquified Face"
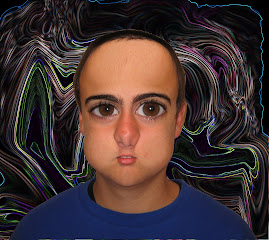
by anonymous 2008 student
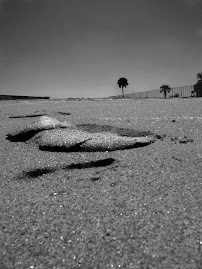
Beach Duotone

Student work 2006-07
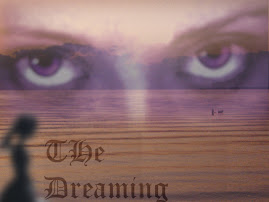
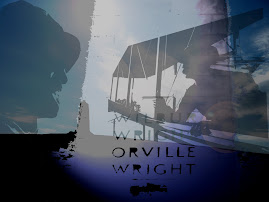
sample 'Song Lyrics Project'
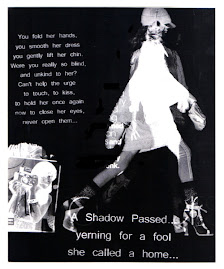
from DeviantArt
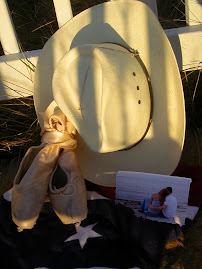
sample of 'locational' picture

student work
Sample Line Art

by Melissa McDonald
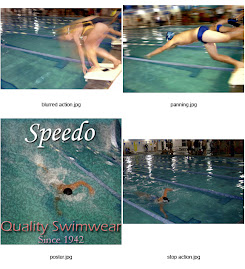
FREESTYLE!
by Alyssa Gill
FREESTYLE!
by Adam Preiser
FREESTYLE!

by Cody Stone
FREESTYLE!

by Zac Coyle
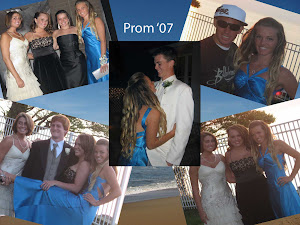
Sample Final Project (4 images)
by Melanie Broadhurst
Action Photo with Text (Poster)
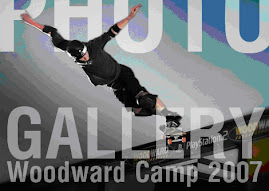
from the Internet
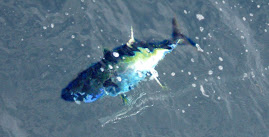
Sample Animal Photos:
By Elke Talbot
.jpg)
By Eric Crostic
Sample Montage

By Caroline Zarate
sample Metaphor Self-Portrait
Student Work 06-07
Sample Still Life
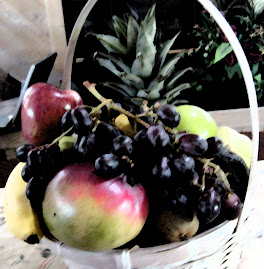
Student Work 2006-07
A Winner from Last Year's Art Show:

by Zac Coyle

"We've been Hockneyized!!"
Sample Catalog Page
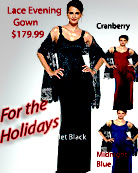
Created by Ms. Finch
Sample Backlit with and w/o flash

student work-- 2nd period 2007
Portrait Collage
Student Work 2006-07
Sample Before and After
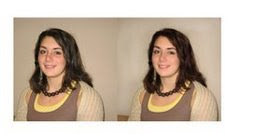
Student Work 2006-7
Sample Collage
created by Ms.Finch in class
Sample Collage

created by Ms. Finch in class
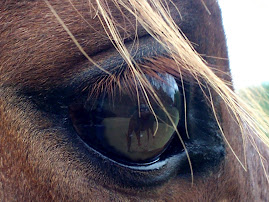
Interesting Macro Sample

Student work 06-07
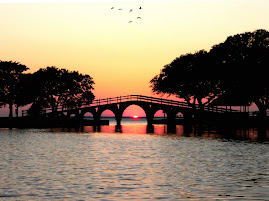
landscape photography (student work)

Macro Photography

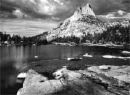
ANSEL ADAMS
Black and White Student Choice

06-07 Student Work
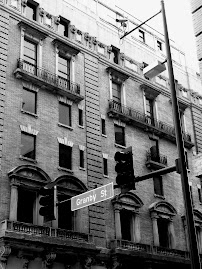
B&W Examples
Examples of Nature Shots
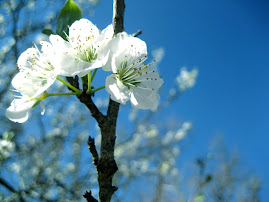
Selective Focus
Examples of Nature Shots

full focus
"Rock Star Day"

Examples of "BOLD, COLORFUL"

(student work)
About Me
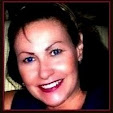
- LISA JOHNSON FINCH
- I am an artist living on the NC Outer Banks(OBX). I hold degrees in both Commercial Art and Fine Arts. I am a painter, photographer, and graphic designer. I am inspired by the natural beauty I see on these barrier islands every day, and try to capture that feeling of tranquility on canvas. As much as I appreciate OBX scenery, my favorite subject matter is portraiture--- particularly babies and children. I enjoy depicting pregnancy and breastfeeding. I love capturing that unique mother/child bond. I have a few pieces displayed in local businesses and galleries. However, I can offer a substantial savings when I am able to cut out the middleman, so to speak, by selling and shipping directly. I also accept work by commission. Send me photos of your kids, pets, or house, and I can create a personal painting just for you or a loved one! How about a fantasy piece? Turn the little girl in your life into a mermaid; your young man into a little surfer dude! Samples of my work are online and you may contact me through Facebook or my email address with any questions. obxlisafinch@embarqmail.com
